Creating your race car graphics involves a number of skills and from design principles, technical skills, alongside a very clear understanding of the racing sector. We have included below some tips and the steps to creating your next high impact race car graphics:
1. Understanding the Brand and Team Identity
Before diving into the design itself, it’s important to have a clear understanding of the team or sponsor’s identity, values, and the overall look they want to achieve. Race car graphics often reflect the team’s colors, logo, and sponsor branding, so it’s crucial that these elements are incorporated into the design.
- Colors: Bold, attention-grabbing colors are often used to make the car stand out on the track. However, the color palette should align with the team’s brand or sponsors.
- Logos: Team logos, sponsor logos, and even driver names or numbers must be strategically placed to be both visible and aesthetically pleasing.
- Style: The overall design style—whether modern, aggressive, vintage, or minimalistic—depends on the team’s desired image. The design should also be adaptable to various types of cars and racing formats.
2. Designing for Speed and Aerodynamics
Race car graphics aren’t just about aesthetics; they must also take into account the aerodynamics of the car. While graphics won’t have a huge impact on a car’s actual speed, there’s an increasing focus on creating designs that look fast even when the car is stationary. The following principles should be kept in mind:
- Lines and Angles: Graphic elements should follow the natural flow of the car’s shape. Lines should accentuate the car’s sleek contours and give the illusion of speed. Curved, flowing shapes often work better than sharp, boxy elements.
- Sponsorship Placement: Logos and sponsor decals need to be positioned in a way that doesn’t obstruct airflow to key aerodynamic components, like the front grille or rear spoiler. This placement requires a balance between visibility and functionality.
- Simplicity: While bold designs are popular, cluttered or overly complex graphics can diminish the overall impact. Simple, dynamic patterns often translate better at high speeds and help avoid visual overload.
3. Choosing the Right Materials
The choice of materials for applying the graphics is another critical factor. Vinyl is the most commonly used material because of its durability, flexibility, and ease of application. It can also be easily removed and replaced without damaging the car’s paintwork.
- Wraps: Full-body vinyl wraps are widely used for their seamless appearance. These wraps allow for detailed designs that cover the entire car, but they require careful precision in application to avoid wrinkles or air bubbles.
- Decals: For a more traditional approach, individual vinyl decals are often used. These are ideal for applying logos, numbers, and smaller details that don’t require a full wrap.
4. Using Digital Tools
With modern design tools, creating race car graphics has become much more sophisticated. Designers typically use software like Adobe Illustrator, Photoshop, or specialized vehicle design tools like 3D modeling software to craft and preview their designs.
- Vector Design: Most race car graphics are created in vector format to ensure scalability without loss of quality. This is essential for both large wraps and smaller decals.
- 3D Mockups: Advanced 3D modeling allows designers to create realistic renderings of how the graphics will look on the actual car, taking into account the contours and curves of the vehicle.
5. Testing the Design
Once the design is finalized, it’s important to visualize how it will look on the track. This involves testing the graphics’ readability, effectiveness in different lighting conditions, and how it holds up under race-day conditions like high speeds and weather.
- Visibility: Race cars are often moving at incredibly high speeds, so the graphics need to be legible from a distance. Numbers, names, and sponsor logos should be easy to spot even from far away or in low-light conditions.
- Durability: The design must be able to withstand harsh conditions, including extreme temperatures, wind, rain, and dirt. High-quality vinyl materials and proper lamination are essential for ensuring the graphics stay intact throughout the race season.
6. Final Application
After the design is finalized, the graphics are printed and applied to the race car. This is usually done by professionals who specialise in vehicle wraps or graphic installations. The application process involves carefully aligning the pieces, heating the vinyl to ensure proper adhesion, and trimming excess material.
7. Ongoing Maintenance
Race car graphics require ongoing maintenance. The combination of high-speed racing, exposure to dirt, and weather can cause wear and tear on the design. Regular touch-ups and cleaning are necessary to keep the car looking fresh, and when a sponsor’s logo changes or a new race season begins, the graphics may need to be updated.
Creating race car graphics is a rewarding process that combines creativity with technical expertise, ensuring that the final product not only looks great but also represents the sponsors and team effectively on the race track.
All vinyl’s used should have a 7 – 10 year life to ensure your vehicles look fresh and vibrant for the duration of their life. For some of our repeat customers, the graphics have outlived the vans!
Vehicle wraps are available but not limited to the following:
- Race, rally & track cars
- Van graphics
- Motorbike fairings
- Plane & boat names / sponsors
- Horse trailer revamps
- Bus rears with one way vision
- Dechrome car trims
Using only the best materials from 3M and Metamark, you can rest assured your graphics will last for years.
show less 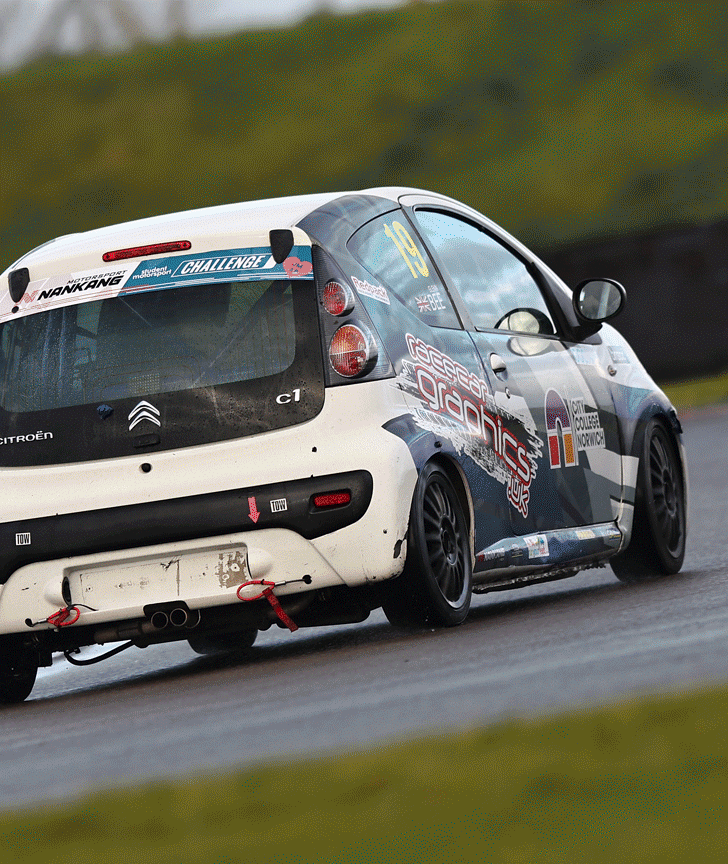 Race Car Livery
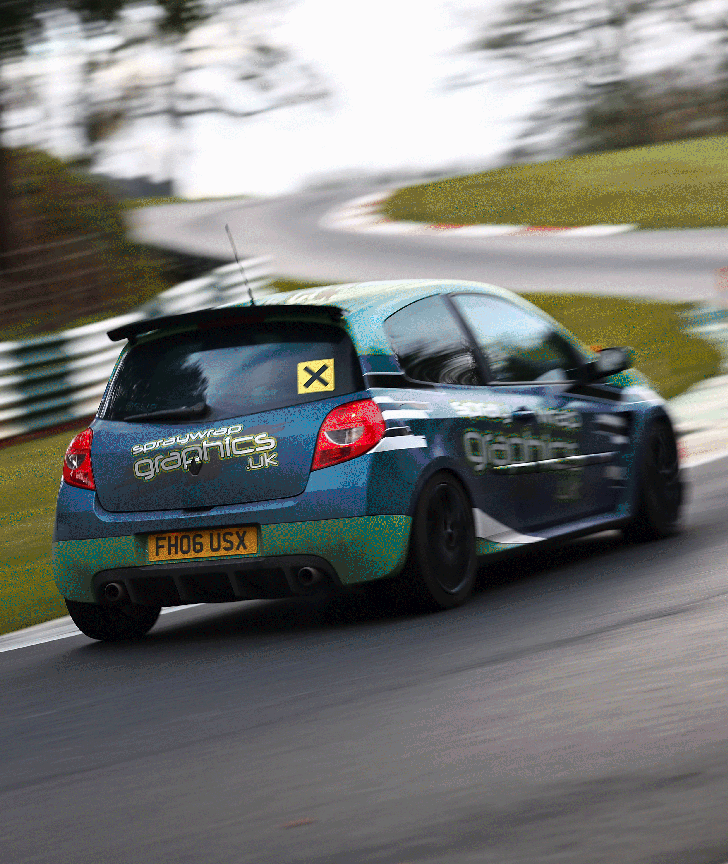 Race Car Wraps
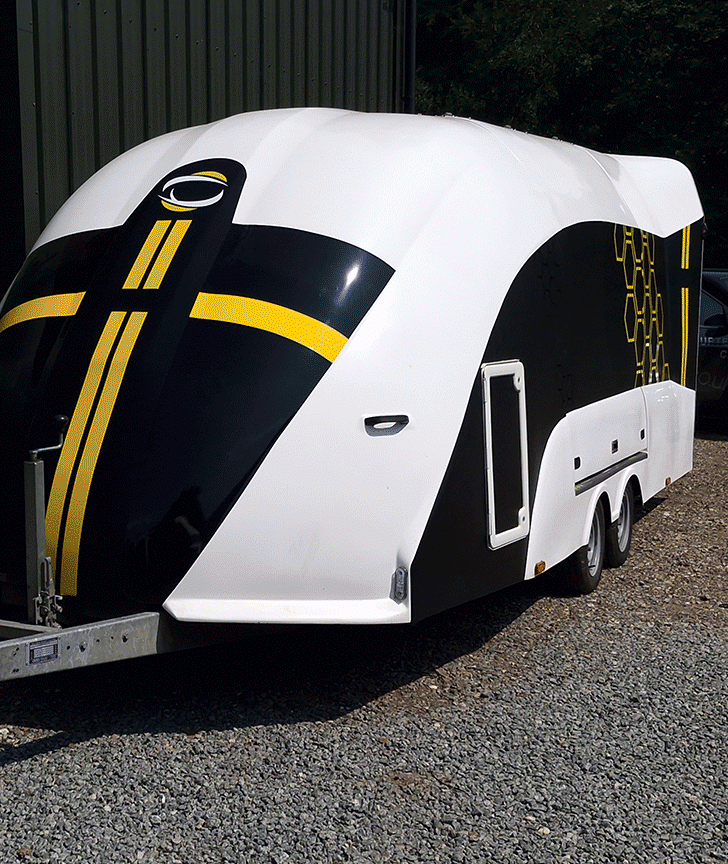 Support Vehicle Graphics
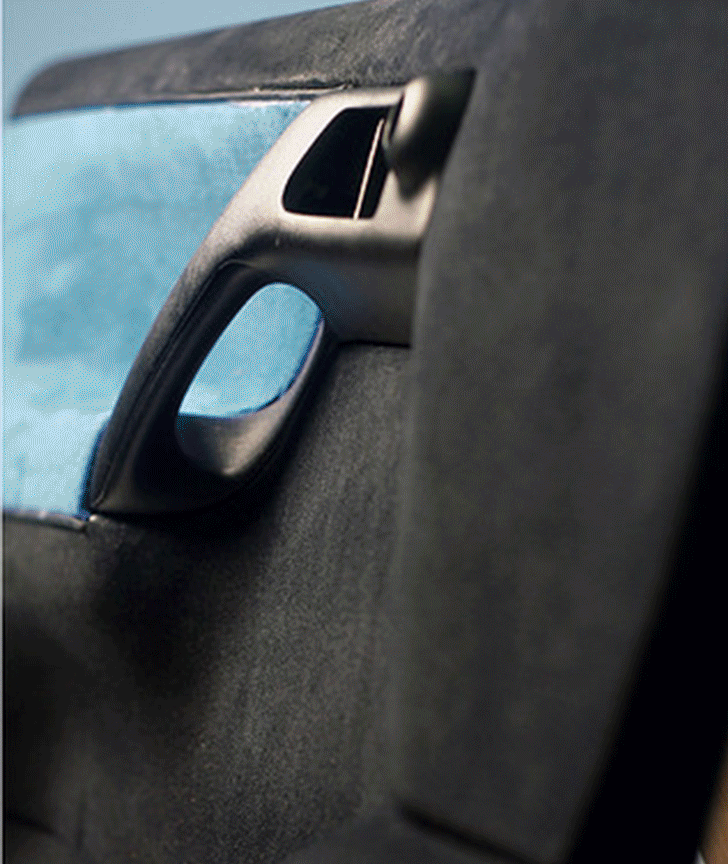 Interior Flocking
 Hydro Dipping